Showing posts with label Spitfire. Show all posts
Showing posts with label Spitfire. Show all posts
Friday, 8 May 2015


Tuesday, 6 November 2012
Airfix Spitfire Mk Vc (on the workbench)
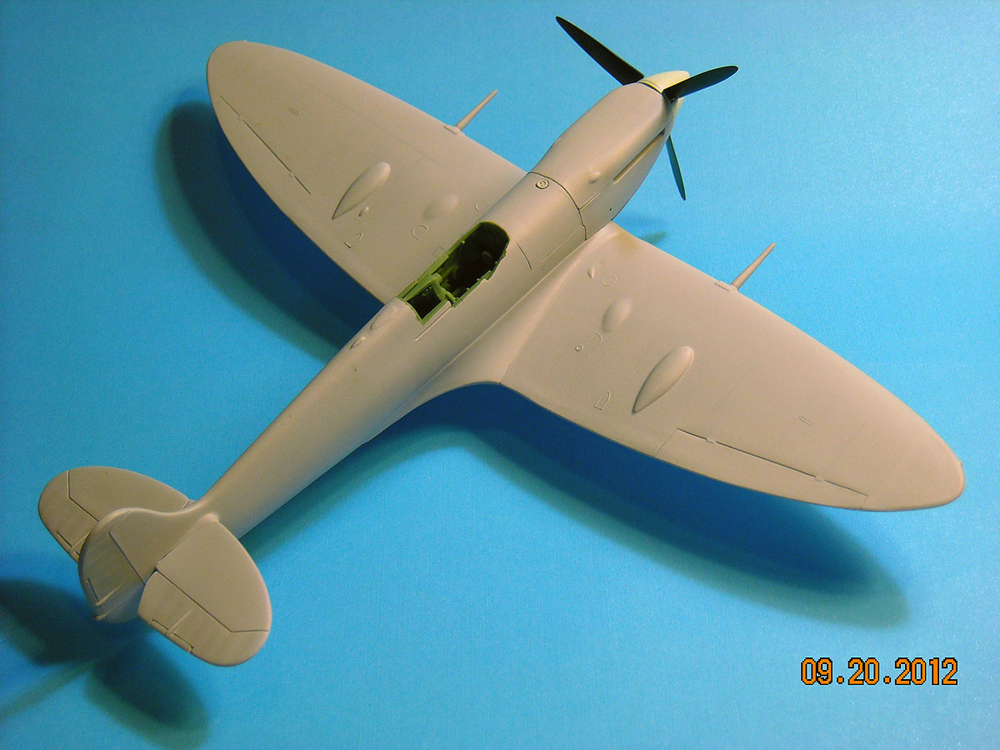
This is my new Spitfire project. The kit is the Arfix with new scribed panel lines on the wings, the fuselaje is the old one. The general shape looks very good as a Spitfire Mk Vc. I love old Airfix Spitfires.

Gral. building is finished. It took a lot of job, specially the underside fuselage on the joint with the wings. I used cyanoacrilate to fill the gaps and a lot of sanding was needed. To avoid the gaps on the join of the uper parts of the wings with the fuselage, I glued them first and then I glued the downpart of the wings. I´m satisfied with the result. it worked well, no gaps are visible.
I replaced the kit´s seat with a resin one from Ultracast. The backseat armour was made from scartch. I didn´t use the cannon barrels from the kit, I found a resin pair of the old Occidental Mk IXc kit in my sapre box, they look more real. The wing is the typical C configutarion with the cannon inboard.
I cut the fuselage to place the door in the open postion and sanded the navigation light on the spin and made a little hole to place a clear plastic position light.
I´m in doubt if the spinner and propeller (De Havilland) that I used are the correct, in the picture it seems that the propeller is a Rotol propeller and the spinner is more pointy.


I´ll go with a RAAF 79 Sqn Spit, October 1944, using the kit decal set.
I satrted with the new scheme, painting is finished. For the upersides I used Umbrol 149; Humbrol 34 for the tail, horizontal stabilizers, cone of the propeller and leding edges of the wings; and for the undersides a mixture of Azurre Blue and White (80%-20%).
When all well dried I satrted with the coats of Future.
Here some pics.


After severall coats of Future I started the decalling process. The decals are from the kit and gave me some trouble to avoid silvering but to solve that I applied the decals over a coat of wet Future instead of wáter and that was the solution, the only thing to take care with this is that you have to work very quickly because the Future dries fast.

Decaling and weathering finished.


Tuesday, 23 October 2012
Spitfire Mk Ib (on the workbench)
92 Sqn December 1940
This is my new project. A Spitfire Mk Ib. This time I will represent the aircraft "in flight" with retracted landing gears. The kit is a mix of a Mk Ia fuselage an the wings of a Mk Vb, both are Tamiya brand. I deleted the reinforcement strips of the wings that comes with the Mk Vb (Tamiya). After the general assembling, I applied a coat of primer ( Mr. Surfacer 1200).
Here some pics. More on the way...


I decided to change the scheme, it will be with the all the undersides sky, as from August 1940 untill November 1940. Upersurfaces RAF Dark Green and RAF Dark Brown camo with Sky band on the fuselage and spinner.


92 Sqn December 1940
This is my new project. A Spitfire Mk Ib. This time I will represent the aircraft "in flight" with retracted landing gears. The kit is a mix of a Mk Ia fuselage an the wings of a Mk Vb, both are Tamiya brand. I deleted the reinforcement strips of the wings that comes with the Mk Vb (Tamiya). After the general assembling, I applied a coat of primer ( Mr. Surfacer 1200).
Here some pics. More on the way...


I decided to change the scheme, it will be with the all the undersides sky, as from August 1940 untill November 1940. Upersurfaces RAF Dark Green and RAF Dark Brown camo with Sky band on the fuselage and spinner.
Now I begun with the painting process. The camo is the one for an even serial number Spitfire. Here some pics.
I used Humbrol and Model Master Enamels. The pilot is from and old Airfix Spitfire kit.
I used Humbrol and Model Master Enamels. The pilot is from and old Airfix Spitfire kit.


I broke the antena mast on the tail I fixed it but I´m not happy with the result. I´ll do it .again...
I made the antena mast from scrath, now it looks ok. I leave a little space to insert the cable.
The decaling is going well, the kit decals (Tamiya) are excellent. I´m using Microsol.


Undersides with retracted wheels.I made the antena mast from scrath, now it looks ok. I leave a little space to insert the cable.
The decaling is going well, the kit decals (Tamiya) are excellent. I´m using Microsol.


Decaling finished. Next general weathering.

The enhaicing and weathering of the panel lines was done with Eding microfiber 0.1 mm with permanent ink and artist oil washes.


Monday, 15 October 2012
My Spitfire Collection
Here are some pics of my Spitfires. It´s a never ending collection, I´ll continue to add more Spitfires. All are in 1/48 scale.
Mk Ia 610 Sqn 1940
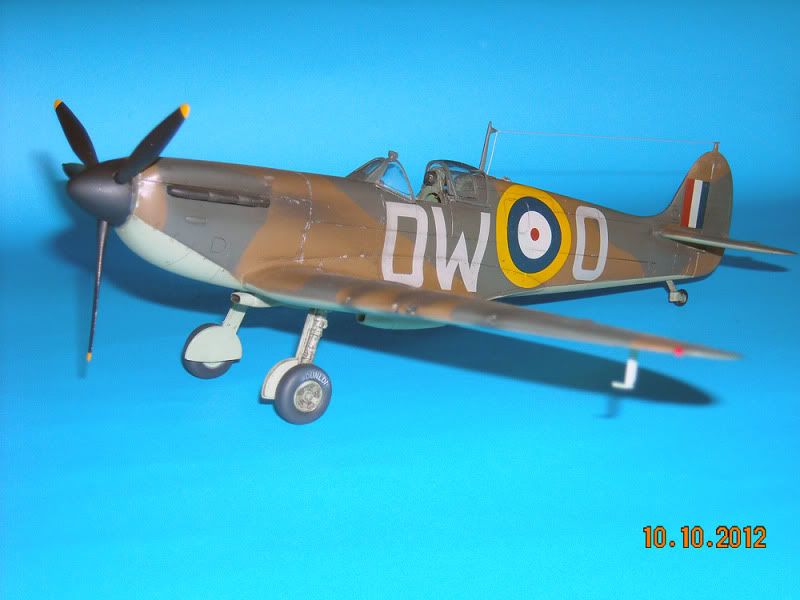

Mk Ia 92 Sqn 1940
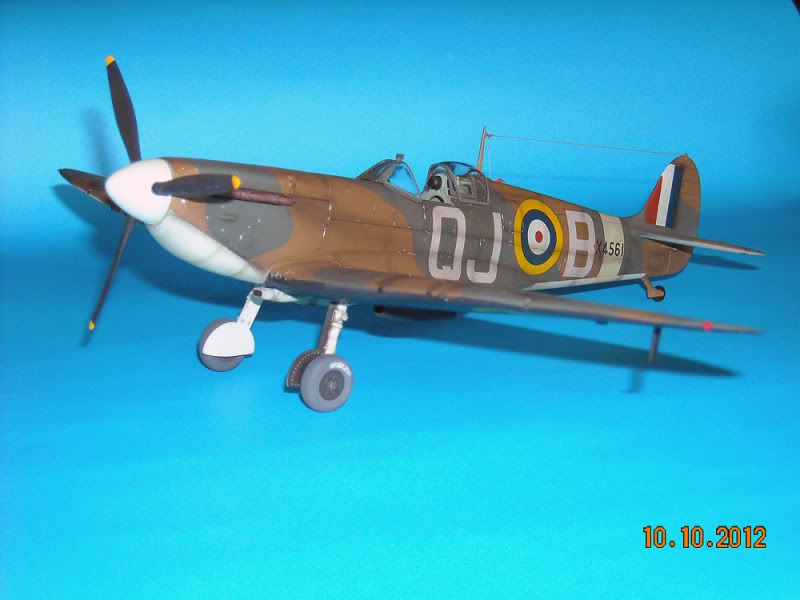
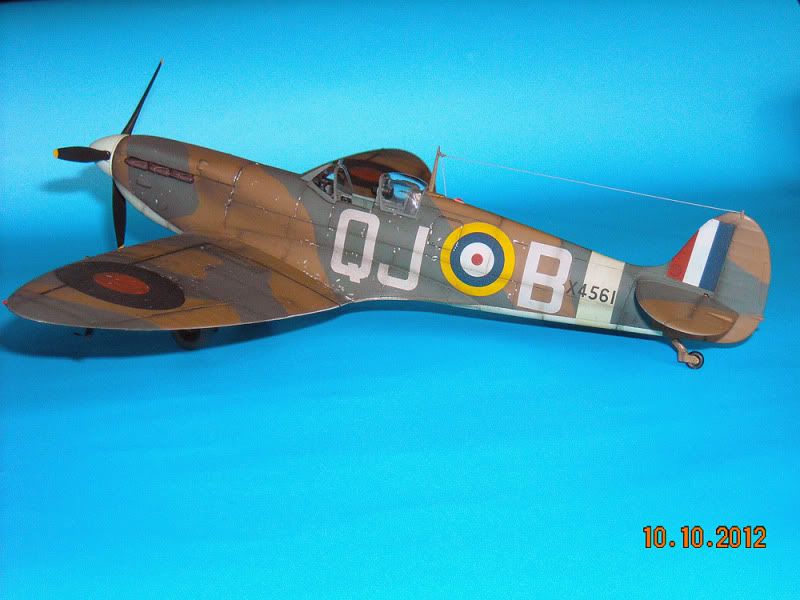
Mk IIa 65 Sqn 1940
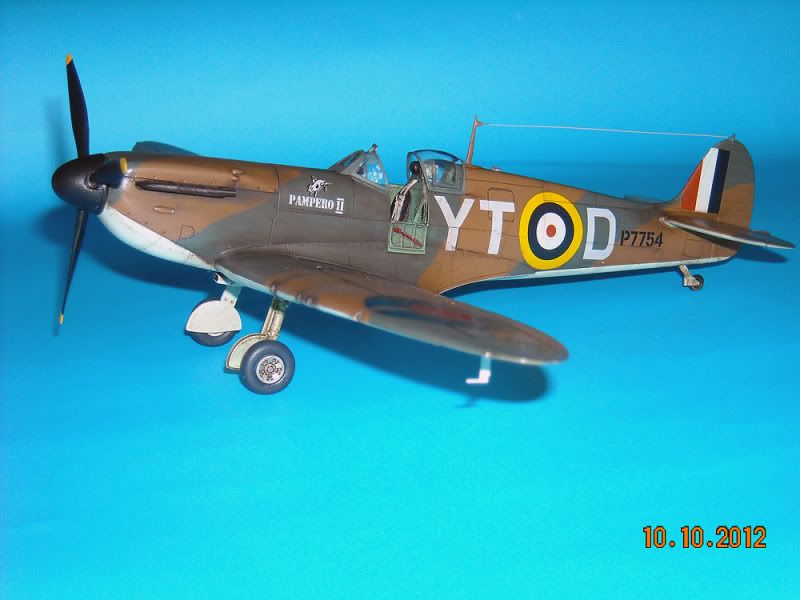
Mk Vb 316 Spn 1942


Mk Vb 417 Sqn 1942


Mk Vb 601 Sqn 1942


Mk Vb 602 Sqn 1942


Mk IXc 316 Sqn 1943


More on the way...
Thursday, 11 October 2012


Monday, 24 September 2012
Friday, 21 September 2012
The German:
The German is a short film written and directed by Nick Ryan, Starring Toby Kebbell and Christian Brassington. It premiered at the 2008 Cork Film Festival and has subsequently been screened at Palm Springs Film Festival, LA Shorts Festival and San Paulo Film Festival in Brazil.
Two airmen, two gentelmen !
The German is a short film written and directed by Nick Ryan, Starring Toby Kebbell and Christian Brassington. It premiered at the 2008 Cork Film Festival and has subsequently been screened at Palm Springs Film Festival, LA Shorts Festival and San Paulo Film Festival in Brazil.
Two airmen, two gentelmen !
Airfix Spitfire Mk Vb (old mould)
The idea of this post is to show all the finishing steps after the general assembly.
This time is another Spitfire
Mk Vb in 1/48 scale.
It´s Airfix brand. Airfix’ Spitfire is an oldie but goodie. My sample had little or no flash but numerous sinkholes. Mould is quite old, the fuselage has a
combination of engraved and raised panel lines. The assembling is quite
complicated but with care, a lot of dry fitting and patience I reached a nice
model practically without using putty, just a
little on the wings to fuselage joint and smooth sanding over the unions. The worst part is the union of the wings
with the fuselage and the gap of the union with the rear part of the
fuselage. To resolve this, I first glued the top of the wings to the fuselage and
then the bottom. The dihedral of both wings must be 6º.
Anyway it´s a good model and I
think that it´s one of the most accurate Spitfires in shape.I have applied a coat of primer and now it´s ready for painting. I´ll use Model Master enamels.
More pics on the way.


I decided to use the kit´s decals. I´ll represent an aircraft of 602 Sqn, City of Glasgow, 1942.
I found these pictures on the web. Notice that it hasn´t the code number.


These are the kit´s decals, they are very old, but I think they will work well.

I started with the painting process. I´m Using Model Master enamels. First for the underside fuselage I applied RAF Medium Sea Grey (2058). For masking I´m using Tamiya Masking Tape.
RAF Ocen Grey (2057) is the first color applied to the uperside camo. The other uperside color will be RAF Dark Green (2060).
I´ll wait until tomorrow to continue with the painting. I wait one day between each coat.


This masking will give a hard edge camo, just as the Spitfire camo really was.

I masked the canopy with a mixture of Parafilm and Tamiya masking tape. I cut it to expose it open.
Second camo color applied.


Ready to apply acouple of Future coats before decaling.

I applied five thin coats of Future with a soft square brush and the decals worked very well. No silvering and they reacted ok to Microsol. After decaling I applied two more coats of Future to protect the decals. Note that the wing is like a mirror reflecting the decals of the fuselage. Next step will be weathering with a mixture of oil paints and tupertine.


I used the pilot that comes with the kit, I painted it with Vallejo acrylic piants. It gives a sense of dimensions. I finished the decaling of the wings and cowling. Now I´m ready to beging with the weathering.


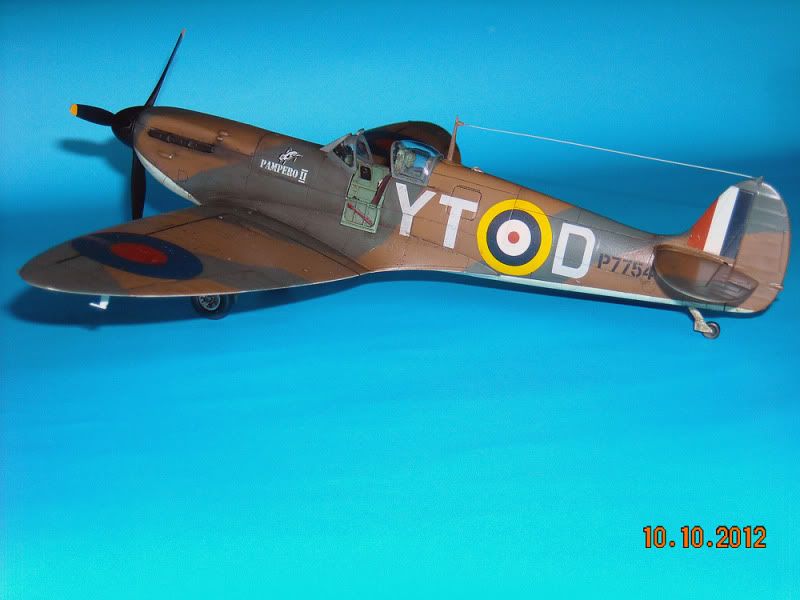
The finished model: this Airfix kit is spartan in cockpit detalis and panel lines, but it represents very well the general shape of the Spitfire. It is fun to build, it remembers me the old days of modelling when all your modelling skills were needed to obtain a decent final product. Highly recomended ! Everyone that loves the Spitfite must have an old Airfix Spit in the shelf.



The finished model: this Airfix kit is spartan in cockpit detalis and panel lines, but it represents very well the general shape of the Spitfire. It is fun to build, it remembers me the old days of modelling when all your modelling skills were needed to obtain a decent final product. Highly recomended ! Everyone that loves the Spitfite must have an old Airfix Spit in the shelf.


Subscribe to:
Posts (Atom)